I've decided to share with you the first part of a tutorial that I wrote last year, not long after MDS was introduced to Australia. By that stage I had already owned a Silhouette Cameo for about a year and was so happy to be able to finally combine SU products with my electronic cutter.
So here's the basics on how to use a digital punch (in this case, the Two-Step Owl Punch Digital Download) with your Silhouette Cameo.


So here's the basics on how to use a digital punch (in this case, the Two-Step Owl Punch Digital Download) with your Silhouette Cameo.

 |
| 122153 |
© I'm happy to share but please do not reproduce any of my photos and instructions or publish them on your web site or blog etc. without my permission. Instead, just link back to this post for reference. Many thanks!
Instructions -
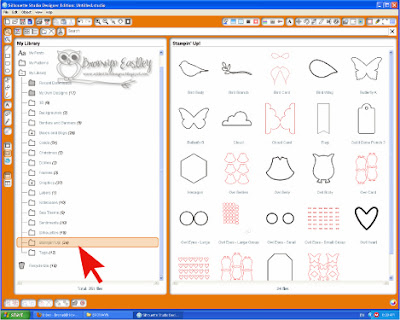
1. Open up MDS (My Digital Studio) on your computer and begin a new 'project'.
2. Click on 'PUNCHES' and select the owl's body to begin with.

3. Click on the 'SHARE button', then 'Export svg' and save it in a folder on your Desktop.

4. Repeat the above steps for the owl's belly, eyes and heart punches.
5. Import your svg files into your Silhouette Studio (Designer Edition).

6. Give each svg file a name and they will automatically save into the folder entitled, 'My Own Designs'. For convenience, I moved my SU Projects into a Stampin' Up! ® Folder that I created.
7. Select the owl's body and double click on it to begin your project. I chose to use an A4 sized page (Letter Size for USA).

8. Open the Scale Window and re-size your owl (400% is a good card size).

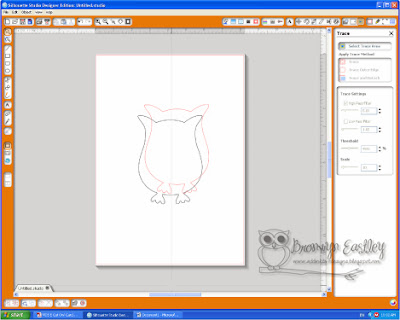
9. Open the Trace Window. Click on 'Select Trace Area' and select your owl image. The outline of your owl will turn yellow.

10. Click on the owl and separate the red one (cutting file) from the black (original). Delete the original.
11. Position your owl on the page and send to the cutter.

12. Repeat the above steps for all the other owl parts.
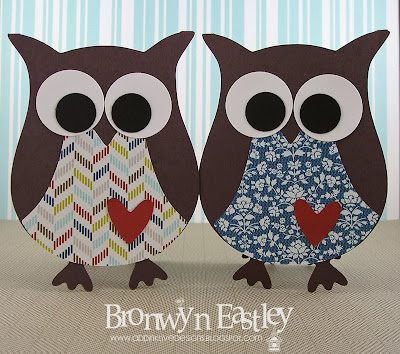
13. Cut out the pieces and assemble.
The whole tutorial on how to make an Owl Card Using MDS and an e-Cutter can be purchased from 'My Tutorials for Sale' section on my blog. I updated it today and the PDF is six pages in total. It includes three and a half pages of instructions and two and a half pages of photos of the other owl cards that I have made. Once purchased, you are permitted to print out the document and use at your stamp classes and workshops.
Please let me know if this tutorial has been useful. I'd love to hear from you.
Comments